 BeamViz 5
2D Visualization 
3D Visualization
BeamViz Object
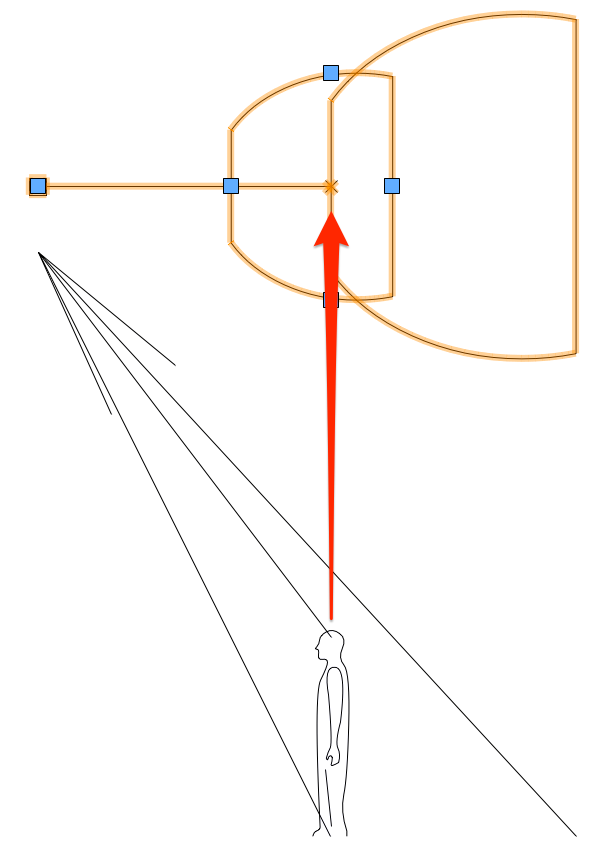
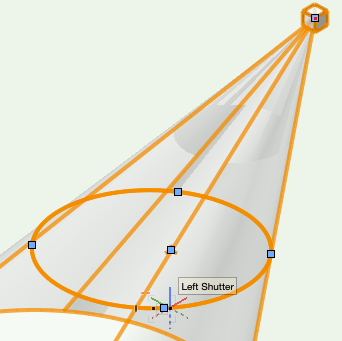
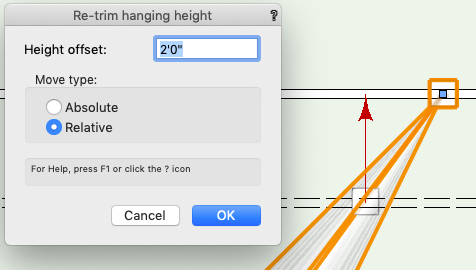
Interactively draw lighting beams. The beam size and shape adjust as you drag and nudge the beam.
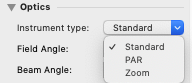
Adjustable properties include: Position Height, Distance to C-Clamp, Field Angle, Beam Angle, Peak Candela, Face Plane Height, Show/Hide Beam on Floor.
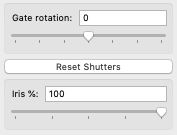
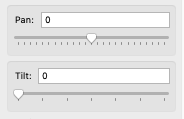
PAR mode with interactive bottle rotation.
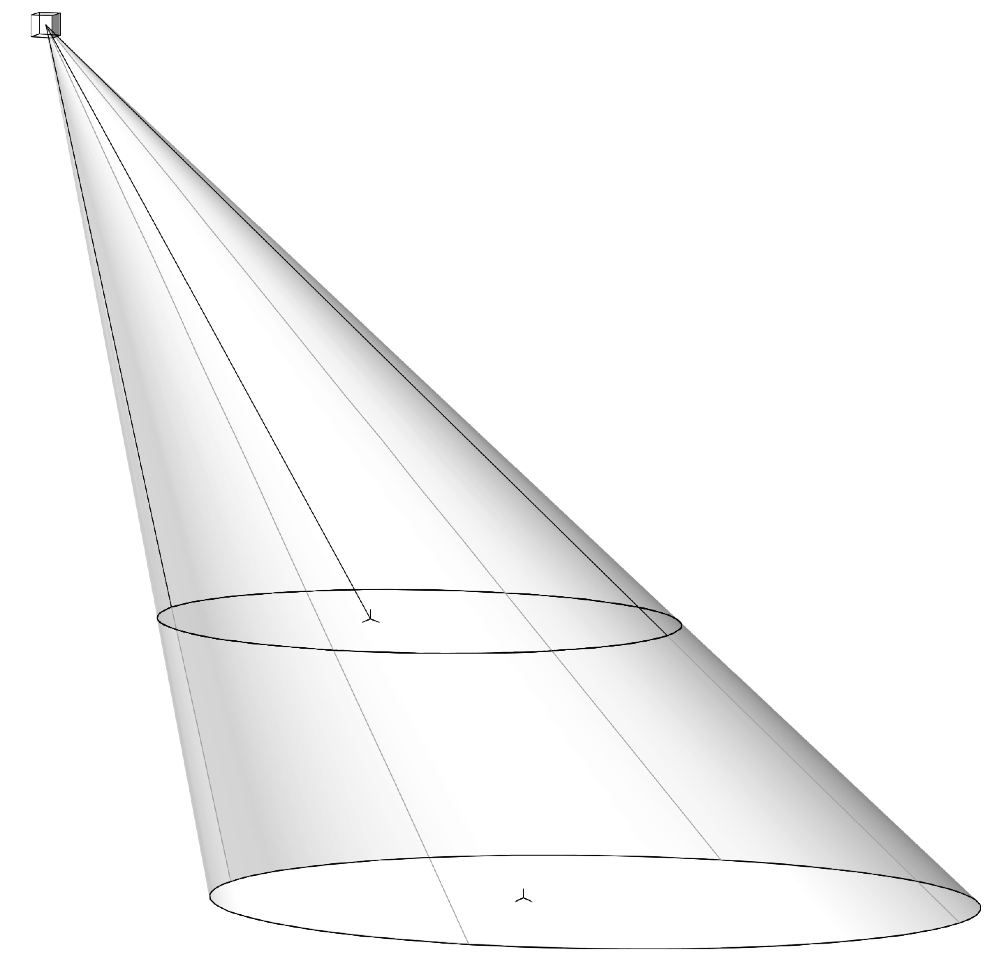
Focus from any position height to any focus height, even if the light focus up or hits the face plane in an open parabola.
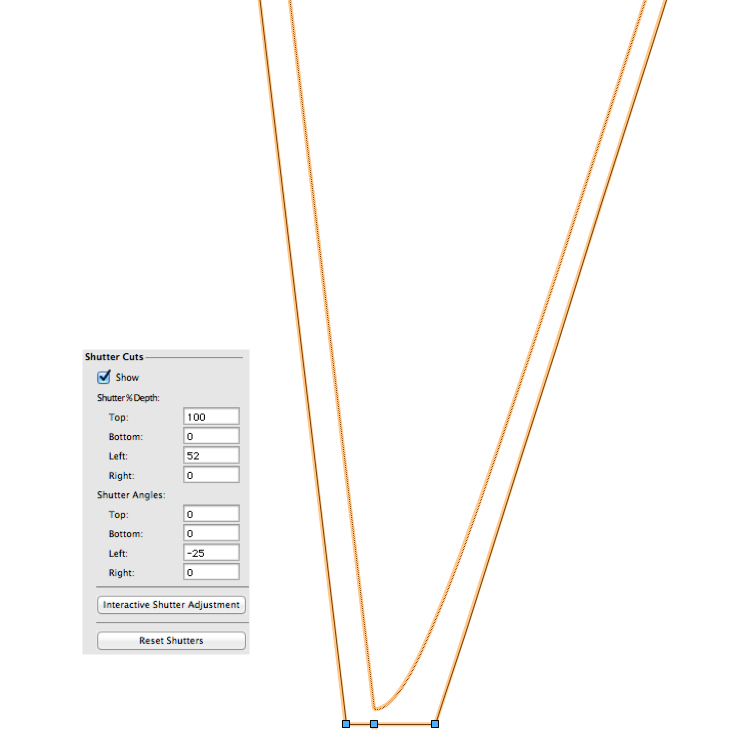
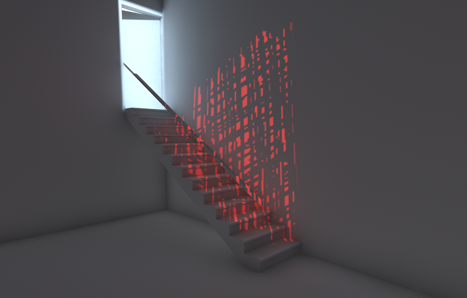
Visualize shutter cuts. You can drag the shutters right in the drawing!
View valuable data on how your light focuses.
Completely stand-alone
BeamViz lets you concentrate on worksheeting your rough plot — save drafting for later. You can use Beam Draw to easily determine ideal instrument placement in any blank document, and integrate with Spotlight Lighting Devices later.
BeamViz Section
Visualize beam sections in a 2D view. This is also a fully interactive tool. BeamViz Section will even draw a figure for you, and show you what portion of the section includes the full width of your focus area.

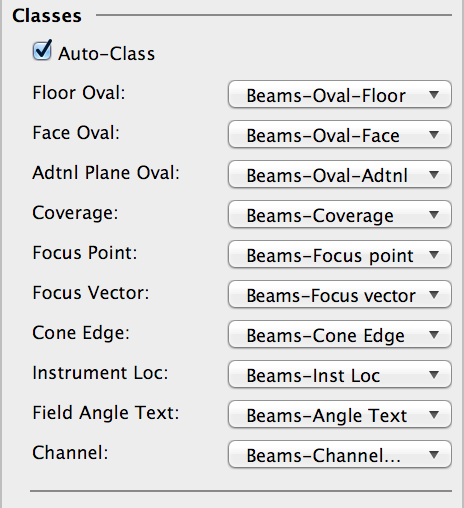
Discrete class control
Discrete class control for each component of the object, including an option to automatically set classes
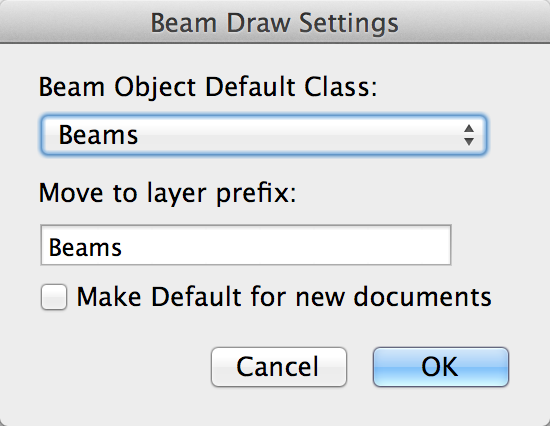
Class Insertion Defaults
Settings preferences for default class and default Move to Layer prefix
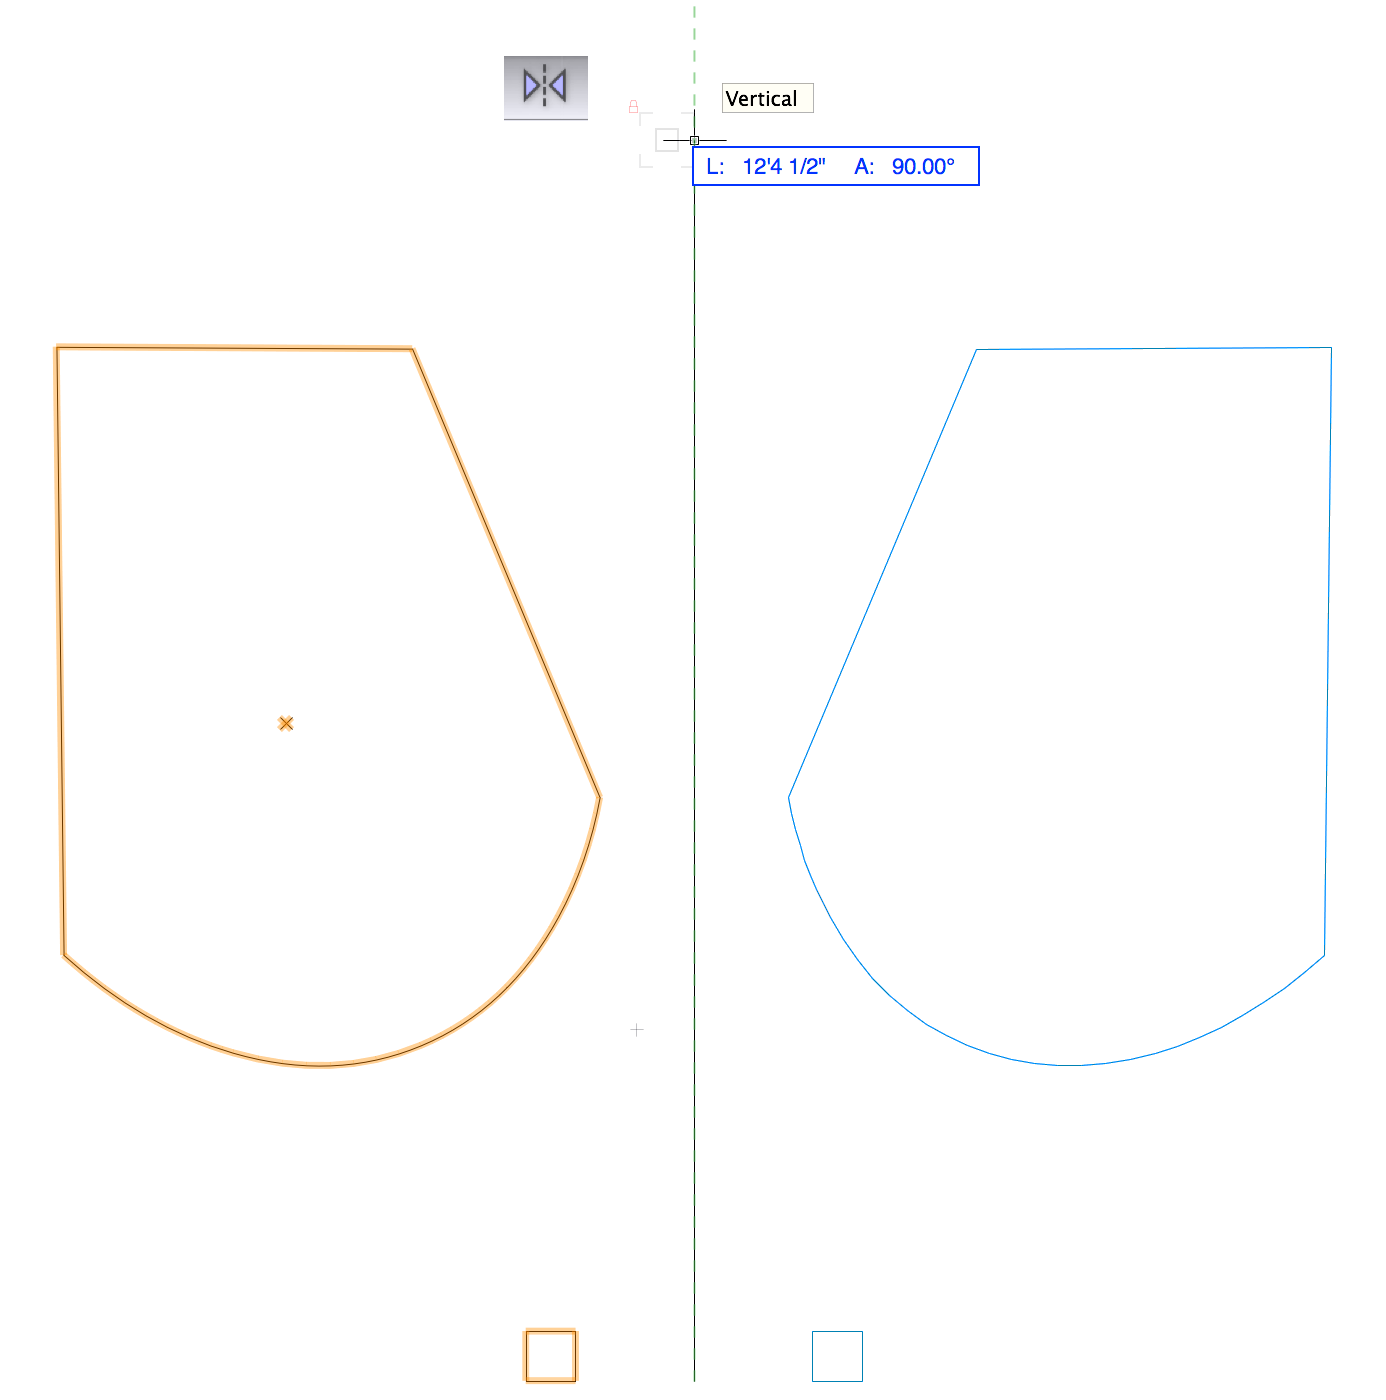
Mirror Tool Support
All Beam objects now properly flip when using with the mirror tool and a horizontal or vertical line of reflection
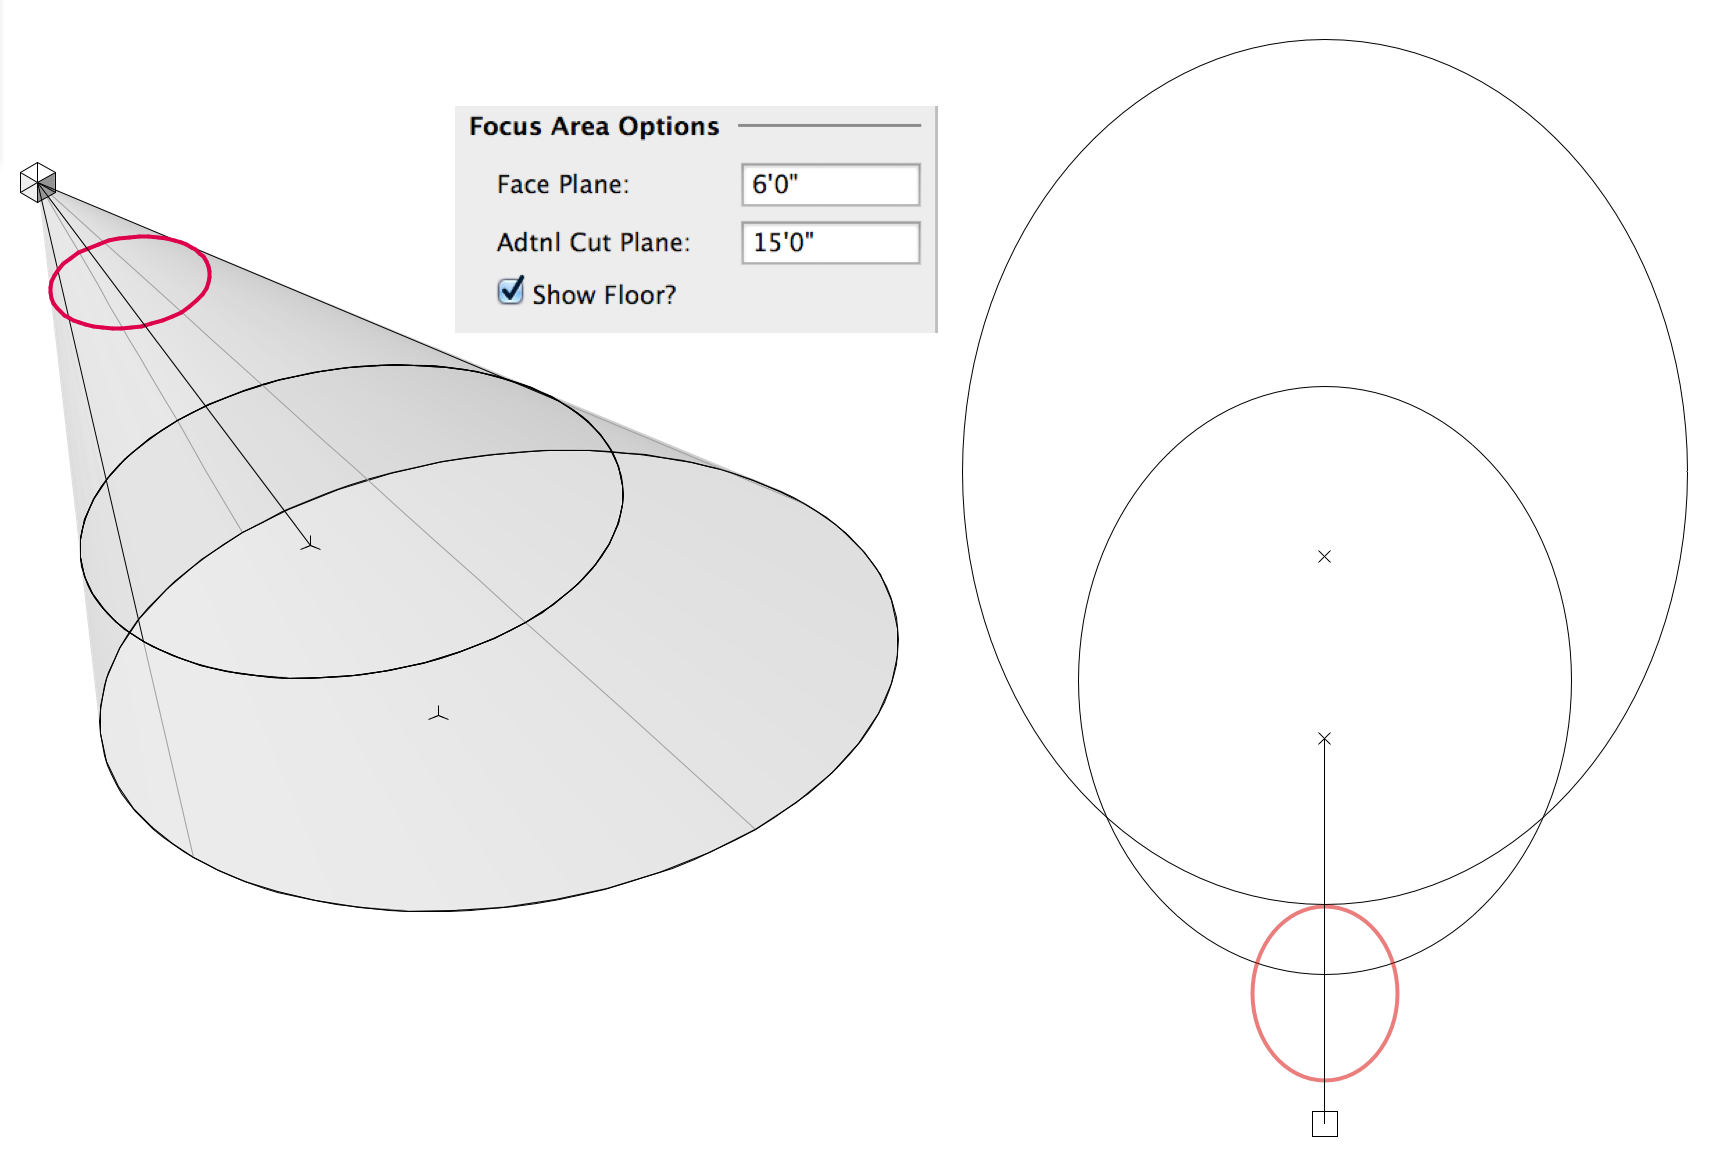
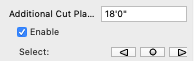
Additional Cut Plane
Additional Cut Plane parameter, to check coverage at any height. Perfect for checking shots through scenery or under masking
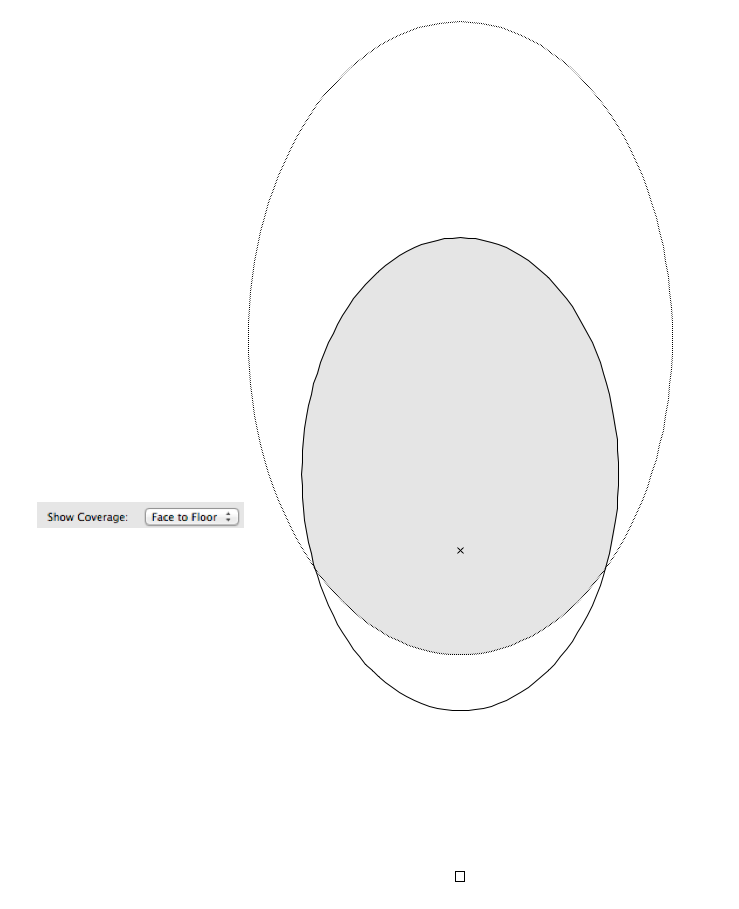
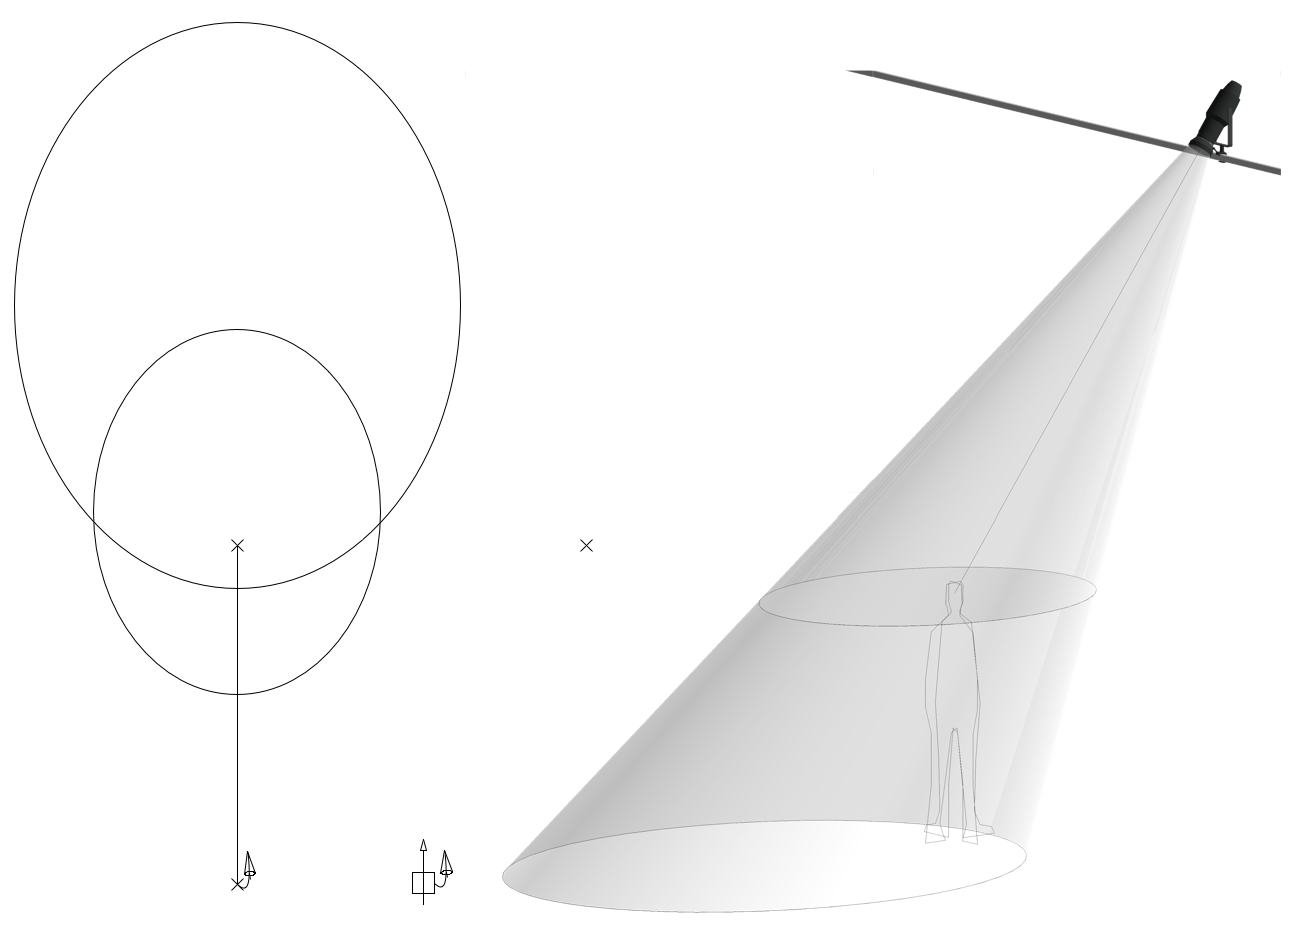
Coverage Map
Coverage Map feature shows full body or other user-specified coverage in plan view
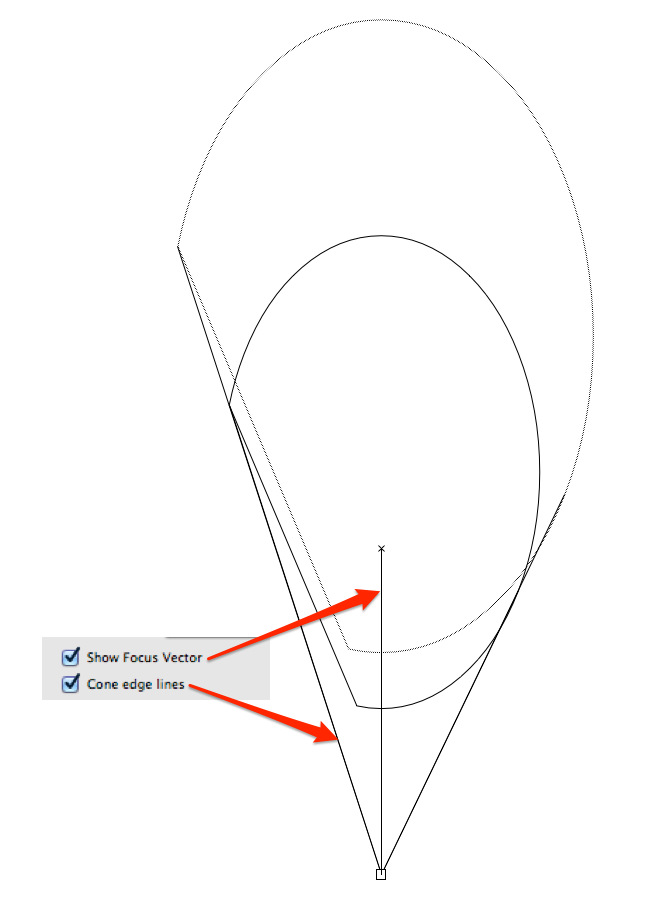
Cone Edges and Focus Vectors
Cone Edge Lines option to display lines defining the beam cone in plan view. The cone edge accurately adjusts to shutter cuts and bottle rotations
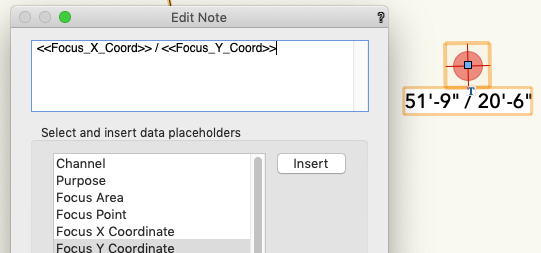
Show Focus Vector option to show a line representing the light’s focus
Spotlight Focus Point Integration
Parameter to focus a Beam to an existing Spotlight Focus Point
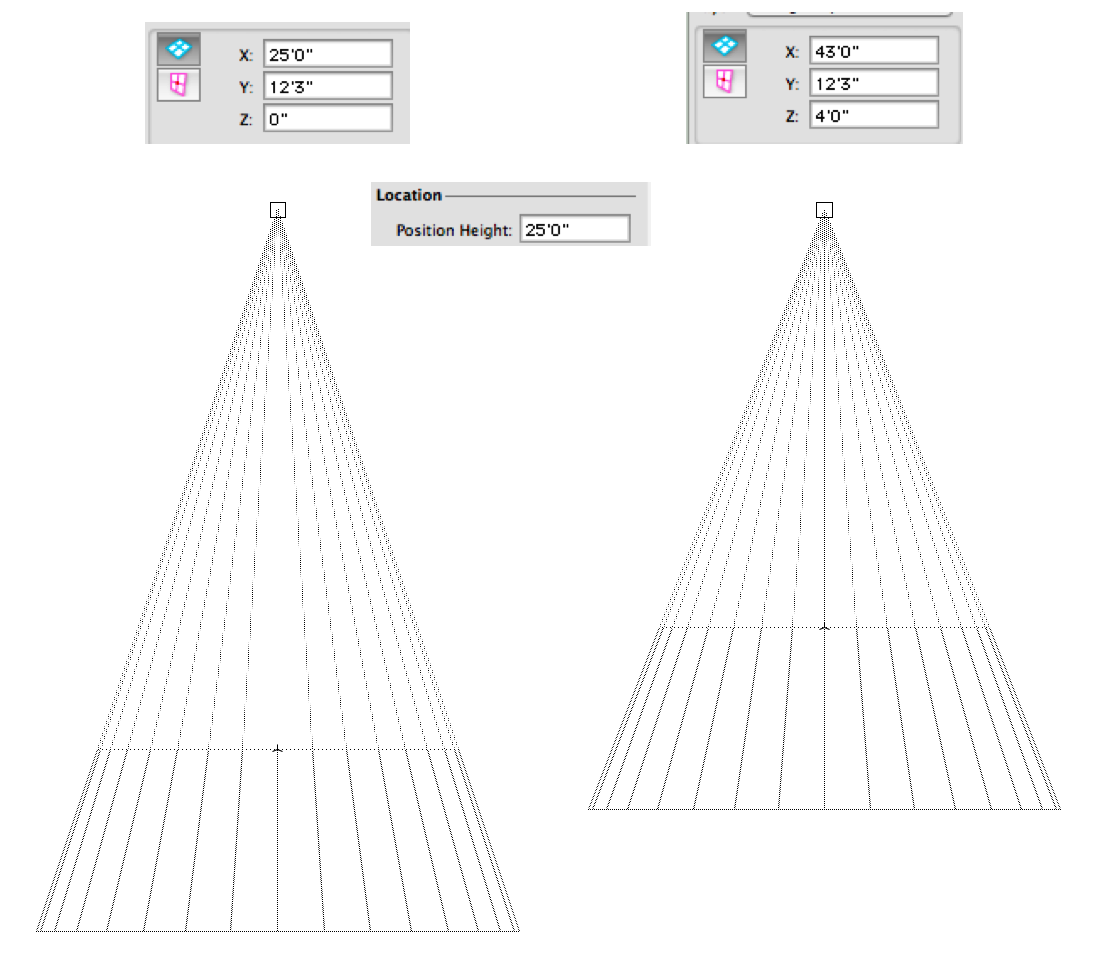
Z Height Used for the Ground Reference
Now use the z height to visualize beams above or below the ground plane without adjusting the beam’s position height
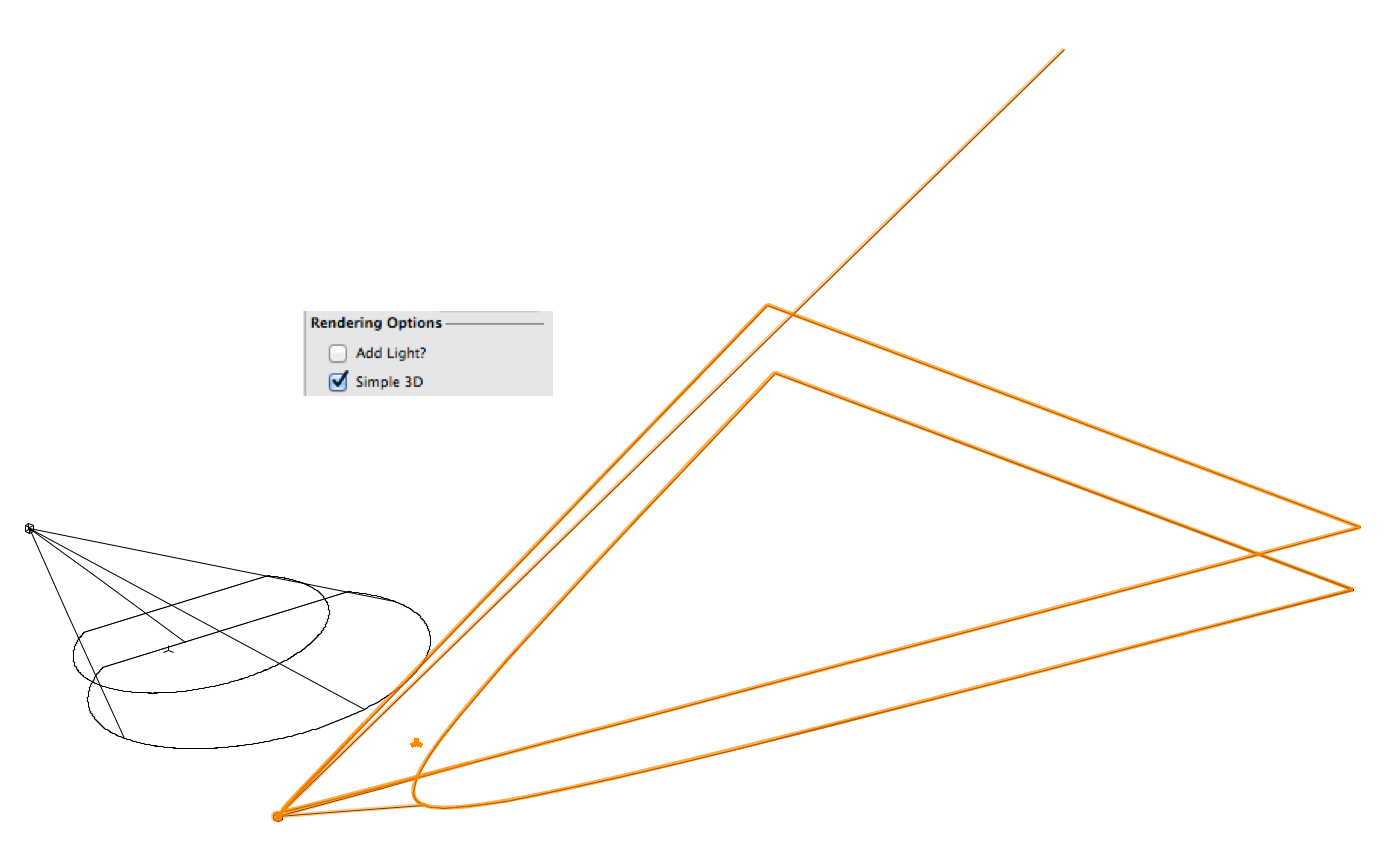
Simple 3D Mode
Simple 3D mode shows only cut planes and cone bounds
Smooth 3D Visualization
3D components drawn with NURBS, resulting in faster and more elegant rendering
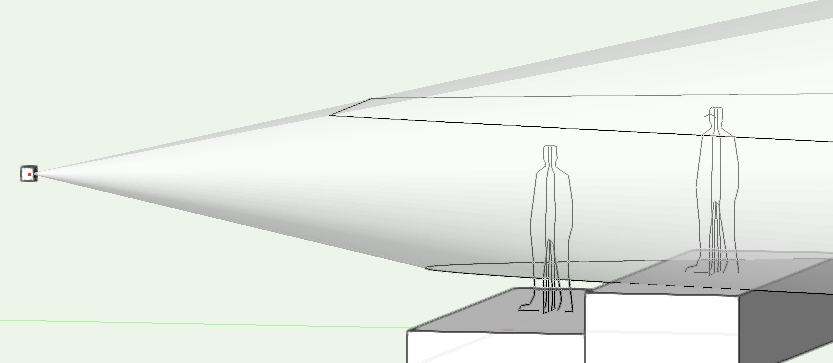
Unparalleled Visualization of Low Angles
Accurate shutter cuts and bottle rotations for low angles that create parabolic coverage areas
Overhung Units
Indicator when a light is overhung (negative clamp distance)
When converted to Lighting Devices, overhung units now also affect the 3D component
Logical Rotation Behavior
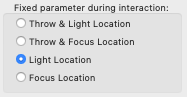
Beams logically respond to rotate commands, depending on the mode:
- Fixed: Rotates beam (PAR bottles)
- Dynamic: Rotates the focus about the instrument
- Fixed Focus: Rotates instrument about focus
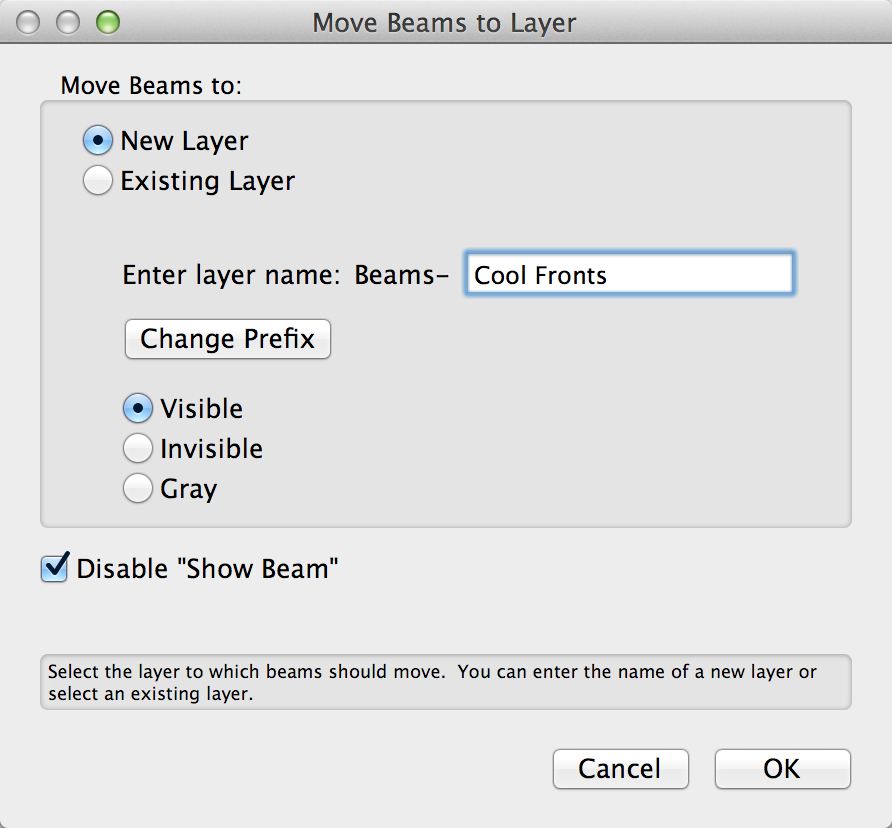
Move Beams to Layer
Quickly file away beams in a system to their own, hidden layer.
Includes options to select an existing layer, change the layer prefix, and set the visibility for new layers
Option to deselect the Show Beam parameter, converting objects to “rough plot” mode
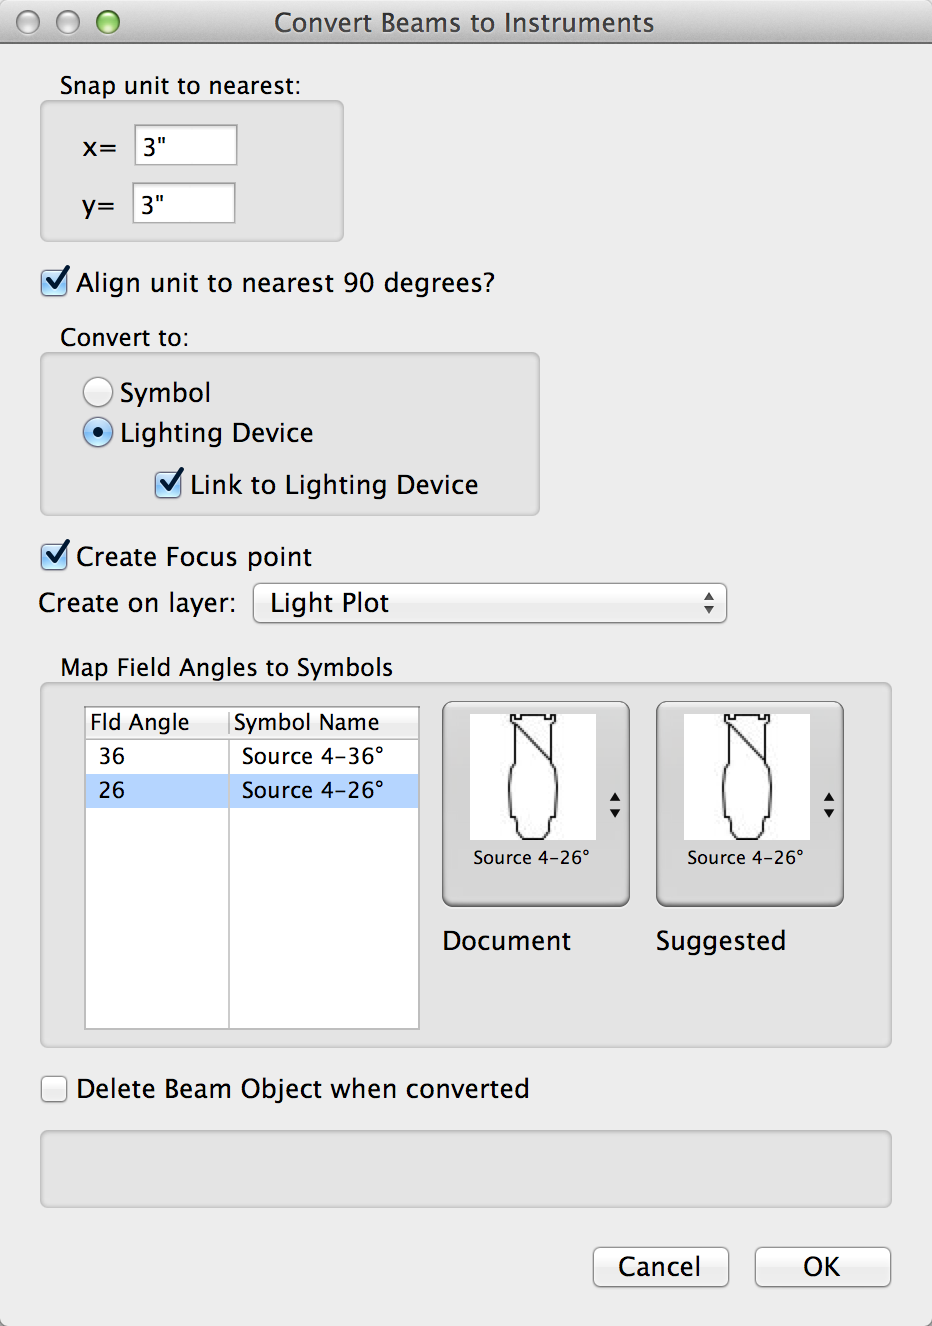
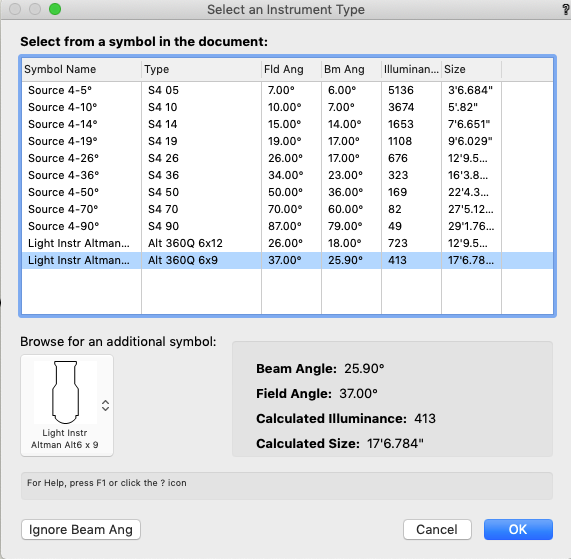
Convert Beam to Instrument
Easily convert beam objects into SpotLight lighting devices.
Added option to create focus point at the beam’s focus. If a focus point already exists at that location, both the Beam and the Lighting Device will be set to that focus point
Beam Object’s shutters, rotations, and focus points now transfer to Lighting Devices
Overhung lights (Negative clamp distance) translate to the 3D component of Lighting Device
New option to link beams to their corresponding lighting device, which will push beam angles, position height, instrument location, over / underhung status, shutter cuts, bottle rotation, focus point, channel, and purpose, and will pull instrument location, channel, and purpose
Linked beams include buttons to update the beam from the light and to unlink the beam from the light
Now works in 3D views
Section Beam to Plan
Converts the selected BD Section to a Beam Draw object
Reverse and Repeat
Command to reverse and repeat beams. It even will R&R shutter cuts and bottle rotations.
Channel Beams
If you are working with one system of beams at a time, you can easily channel them, and the data will be transferred when you convert the beams to Spotlight lighting devices.
BeamViz Magic
BeamViz Magic pulls position and channel data from your beams for use on a sheet layer magic sheet. You can even adjust your channel numbers to accommodate similarly focused or reverse-and-repeated systems.


Reviews
There are no reviews yet.